A staging site is a disposable copy of your live site where you can try changes without touching production – and even run it on a different PHP version. It lives on Backvera-managed infrastructure at its own unique stage-...backvera-stage.com address.
Staging is available on the Business and Scale plans. Business stages last 7 days; Scale stages last 30 days and can be extended without limit. See Backvera plans at a glance.
What you can test
A stage is the safe place to try anything risky before it reaches your live site:
- Plugin and theme updates.
- Code or configuration changes.
- A newer PHP version (see below).
- Any other risky edit – if it goes wrong, you simply throw the stage away.
Create a stage
- Open the site and go to the Staging tab.
- Click Create staging env. You can optionally choose the PHP version the stage should run.
- Backvera provisions a copy with your most recent snapshot loaded automatically.
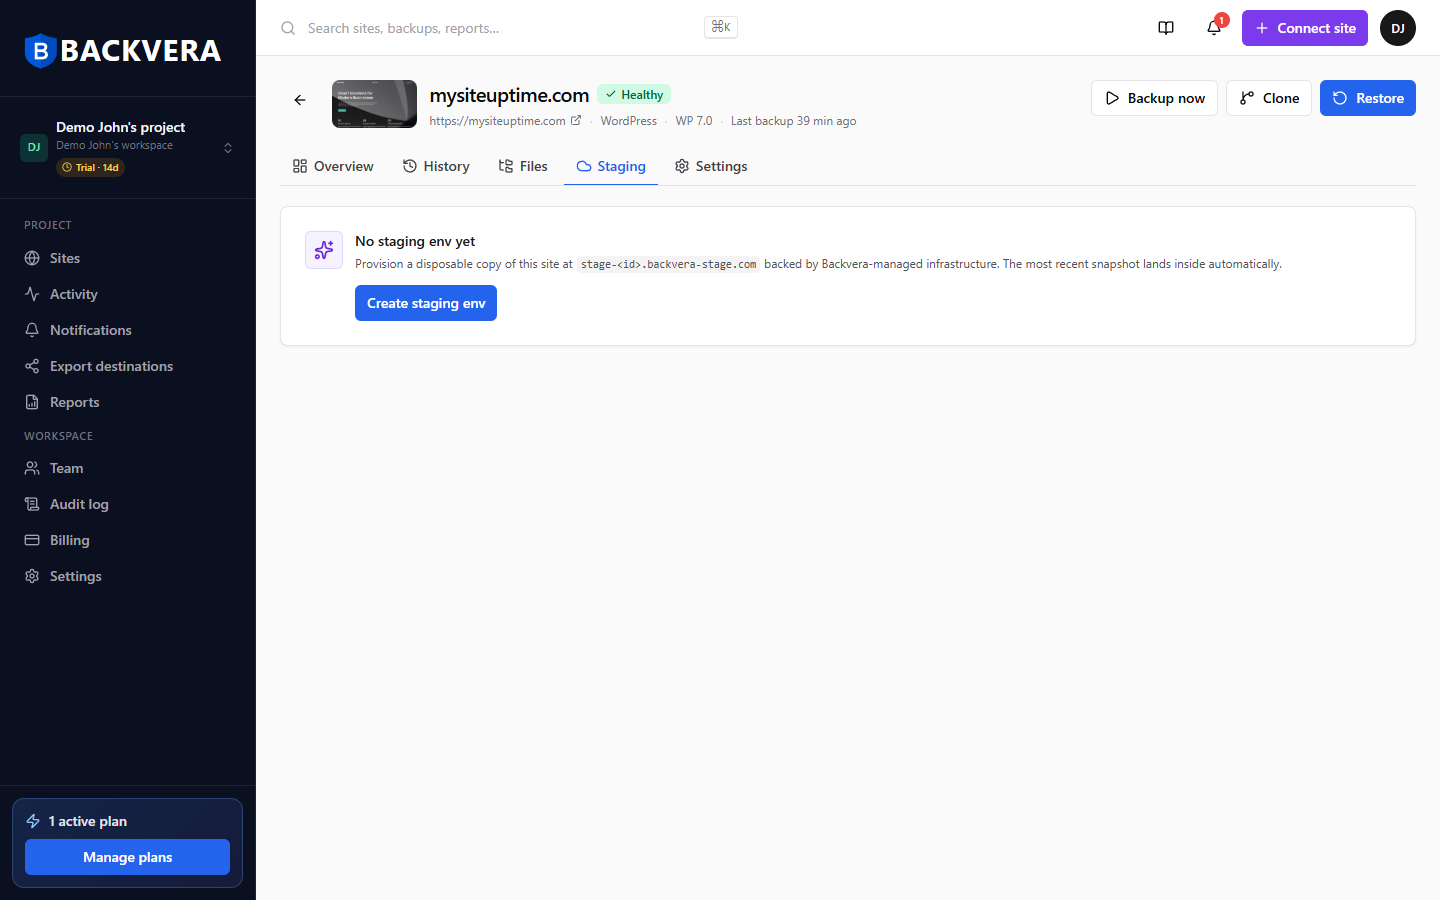
Provisioning runs in the background, so you can keep working – follow it in the Activity feed, where the stage shows up while it builds.
Open and sign in to your stage
Each stage gets its own unique, hard-to-guess web address. Sign in to wp-admin with the same administrator accounts as your live site – they come from the snapshot the stage was built from. When you create or rebuild a stage you can optionally set a custom admin username and password instead.
The staging URL is unlisted, and Backvera puts a password prompt in front of it by default, so visitors and search engines are kept out. You can see the credentials, rotate them, set your own, or turn protection off from the Staging tab – see Password-protect a staging site.
Test a different PHP version
A stage can run PHP 8.1, 8.2, 8.3, or 8.4. Pick a version when you create the stage, or switch it on a running stage with the PHP-version selector. Backvera rebuilds the stage on the new version while keeping its files and database, so you can confirm your site works on a newer PHP before you change anything on your live host. While it rebuilds, the stage shows a brief reconfiguring state and then returns to ready.
This is the safe way to get ahead of a host PHP upgrade: stage your site on the new version, click through it, fix anything that breaks in the stage, and only then upgrade production.
For the full walkthrough and example scenarios, see Test a PHP version with a staging site.
Work on the stage
- Open the staging URL to view and test your changes.
- Load a newer snapshot into the stage to test against fresher data (this replaces the running stage – see below).
- Back up the stage on demand (see below).
- Extend its lifetime, or destroy it when you are done.
Load a newer snapshot into the stage
Need to test against fresher data, or start over from a clean copy? You can restore a different snapshot – including your latest live backup – into the existing stage. Use the Restore snapshot action on the stage, or restore from the Restore page with the managed-staging destination.
Restoring a new snapshot replaces the stage: the running stage, and any changes you have made on it, are destroyed and rebuilt from the snapshot you pick. The stage keeps the same URL, but its current contents do not survive – so if you want to keep what is on the stage now, back it up or push it to live first.
Back up a stage
You can capture a running stage at any time. The snapshot is saved to your site’s History and marked with a Stage label, so stage captures are easy to tell apart from your normal backups.
How long a stage lasts
A stage is temporary. Business stages last 7 days (you can extend once, by another 7 days); Scale stages last 30 days and can be extended without limit. Destroy a stage yourself as soon as you are finished to free it up.
When a stage expires it is automatically destroyed: the environment and its URL are removed – the URL stops working and is never reused – and anything on the stage that you did not push to live or back up is lost. Your live site and its snapshots are not affected.
When your changes look good, copy them across to production – see Push staging changes to live.
Still need help? Email our team at [email protected].